Objectives
Review the spacebook-semantic project from an earlier lab. Become familiar with the Command Prompt. Install 2 new programming environments: a Web Framework called Play and an Integrated Development Environment called Eclipse.
Command Prompt
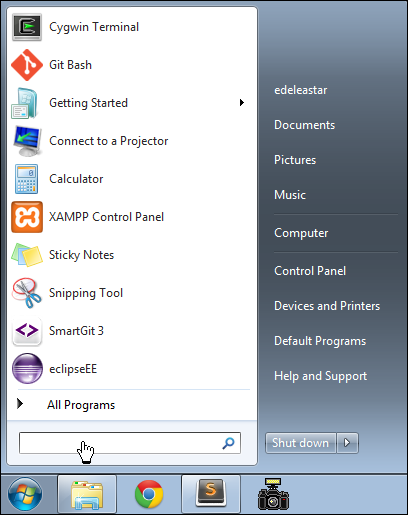
Open a command prompt on Windows. The easiest way to do this is in Windows 7 to type 'cmd' in the Search Box on the Windows start menu:
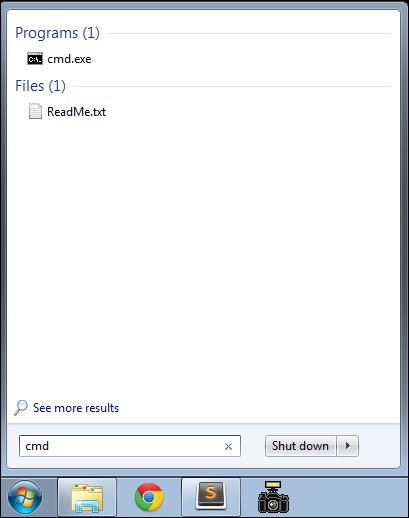
When you type it, the start menu might change to the following:
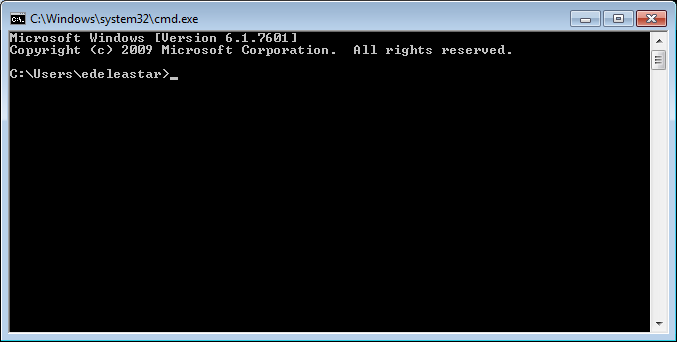
...and if you press return, then the command window itself will appear:
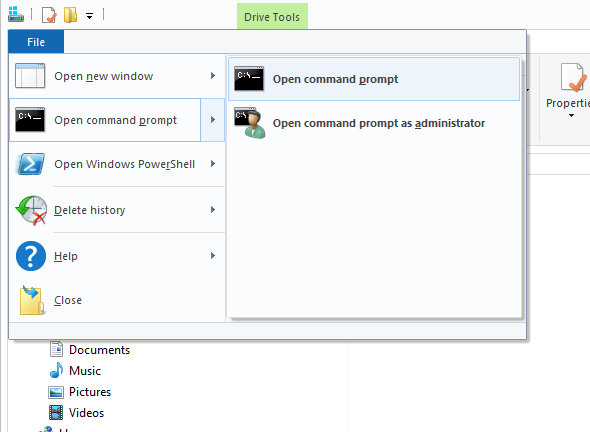
On Windows 8 and 10, access the desktop from the home screen, and run File Explorer (may be in the toolbar). Then select File->Open Command Prompt:
Command Line
This is an alternative interface to Windows which it is important to become familiar with. In this window you can type what are sometimes called 'DOS' commands. These commands let you have a finer level of control of your PC, and are particularly important for programmers to master.
Here are some simple commands:
- dir
- list all files in a directory
- cd ..
- change to a parent directory
- cd \
- change to a specific directory
It is essential that you become adept at these commands, and a few others.
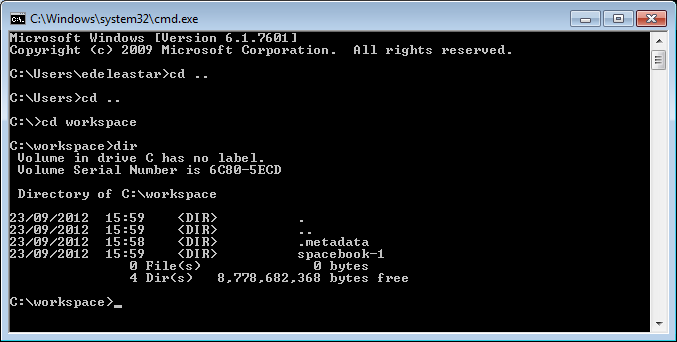
Bear in mind that these commands always have a 'current directory' in mind (a directory is another name for a folder). Try them now and see if you can 'navigate' to your web development workspace. For instance, if the folder is located as shown here:
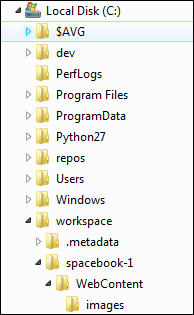
Then the commands to get there will look like this:
If your workspace is located on another drive, the enter that drive letter first - say "G:", press return, and then try the cd and dir commands.

Note in all of the above that the 'prompt' in the command window is always showing the 'current' drive/directory.
Also, if you have a 'space' in your directory (a bad idea generally), then you will have to use quotation marks in the commands. Here is an example:

See in the above transcript that the directory name is "Web Development Workspace" - and it has been enclosed in double quotes.
In general, however, it is best to adopt the following conventions.
Never use spaces in directory or file names
Never use upper case in directory or file names
If you wish to use readable multiple words for a directory or file name, separate the words with '-'. e.g.
- web-development
- java-projects
Perhaps you might take this opportunity to adjust your workspace and projects to adopt the above conventions. If you do, then you will find that using DOS commands to navigate your folders will be considerably easier.
Before going on to the next step, make sure you are comfortable navigating in DOS around the file system, and in particular make sure you can navigate to your web development workspace.
Install Eclipse
To date we have been using Sublime Text as our primary editor. While we can continue to use it, we will supplement our tool set with a professional Java Integrated Development Environment (IDE) called Eclipse:
Select the first one here: Eclipse IDE for Java EE Developers
If you are using the Labs in Walton: Eclipse can be found in C:/dev/eclipse.
Make sure you can launch eclipse now. It may look like this initially:

If you close the welcome screen (click x on the top left) - you will see the main project workspace:
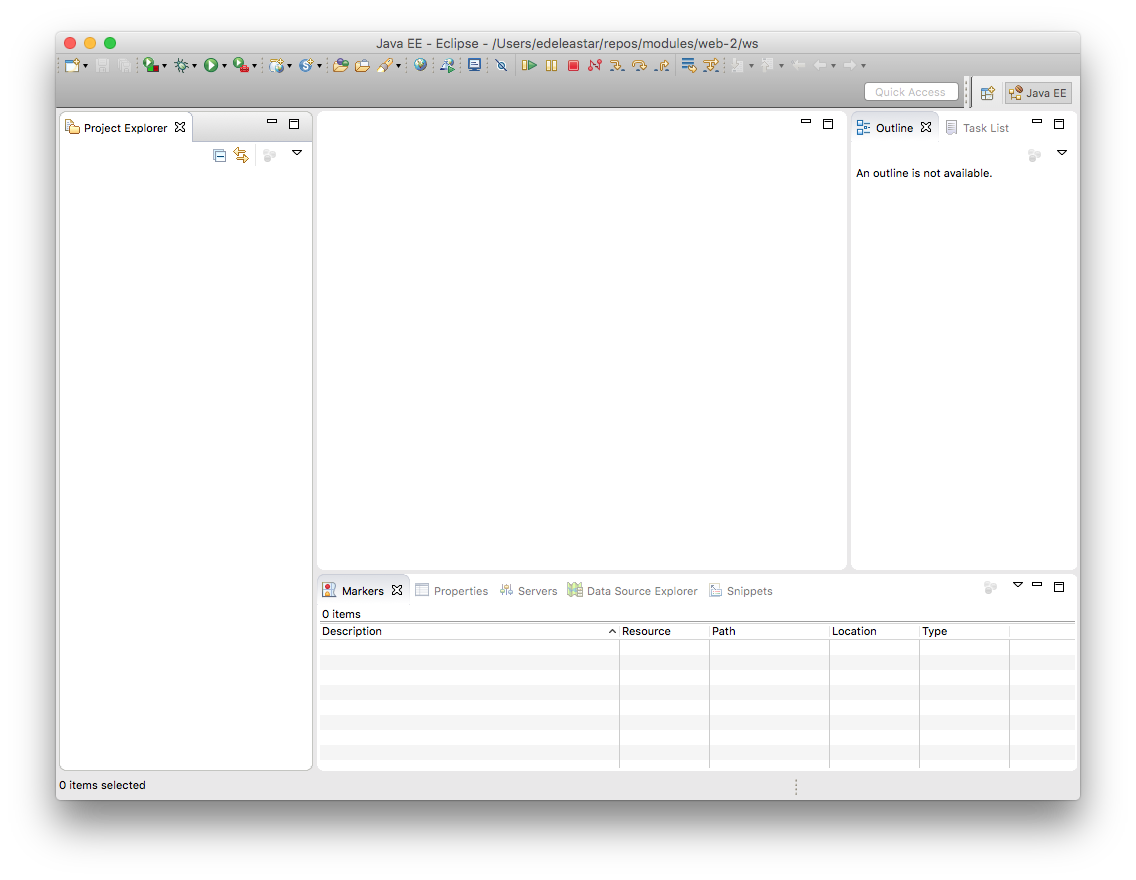
This is empty for the moment.
We can use Eclipse as an alternative to the Sublime editor for creating and editing Web projects.
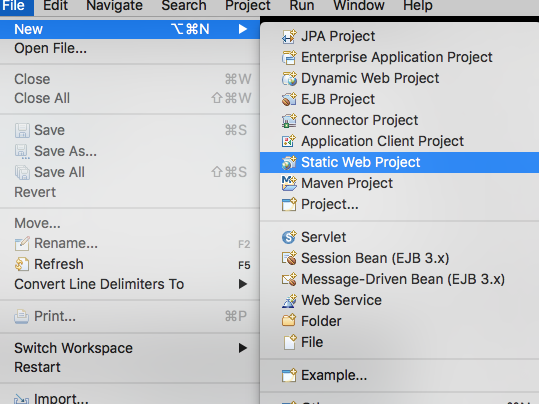
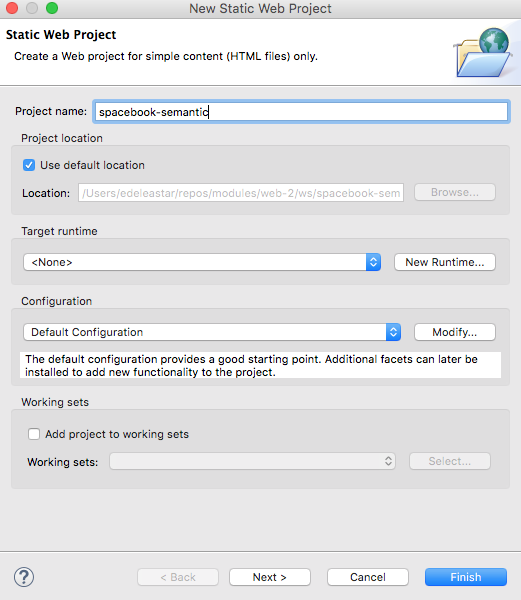
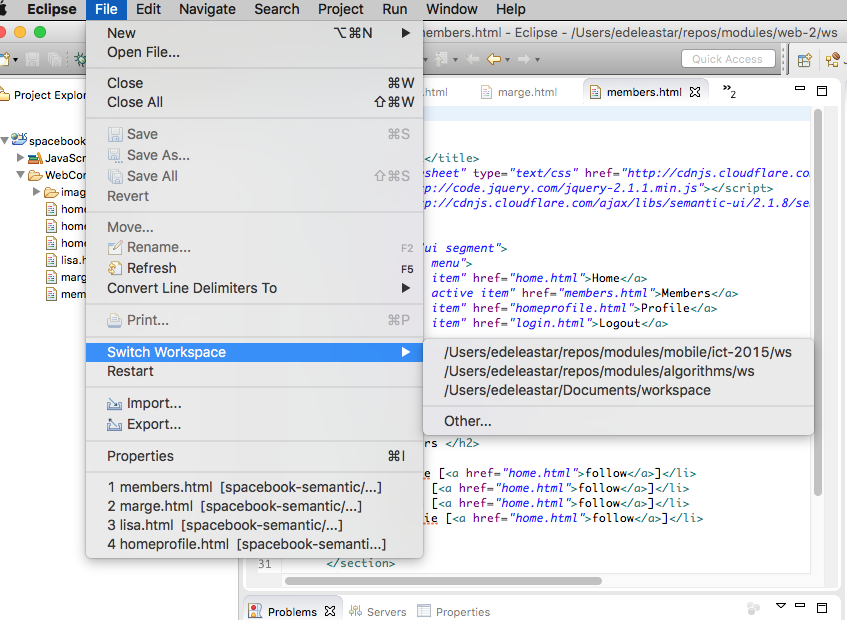
Select File->New->Static Web Project:
Call the project 'spacebook-semantic'
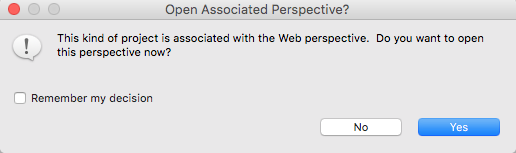
.. accept the suggested change of perspective:
Your new project should look like this:

Import spacebook-semantic Files
This is a static web site produced from Lab06a:
Download and unzip this somewhere convenient on our workstation.
Using Windows Explorer (for Finder on the mac) see if you can drag all of the files from the archive and drop them onto the WebContent icon in the Eclipse project:
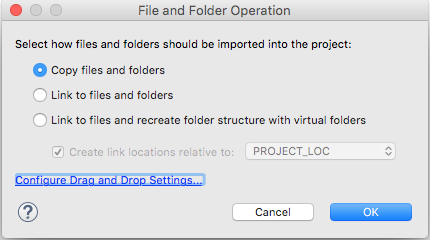
As you drop them, eclipse may ask you if want to 'copy' them - say yes to this:
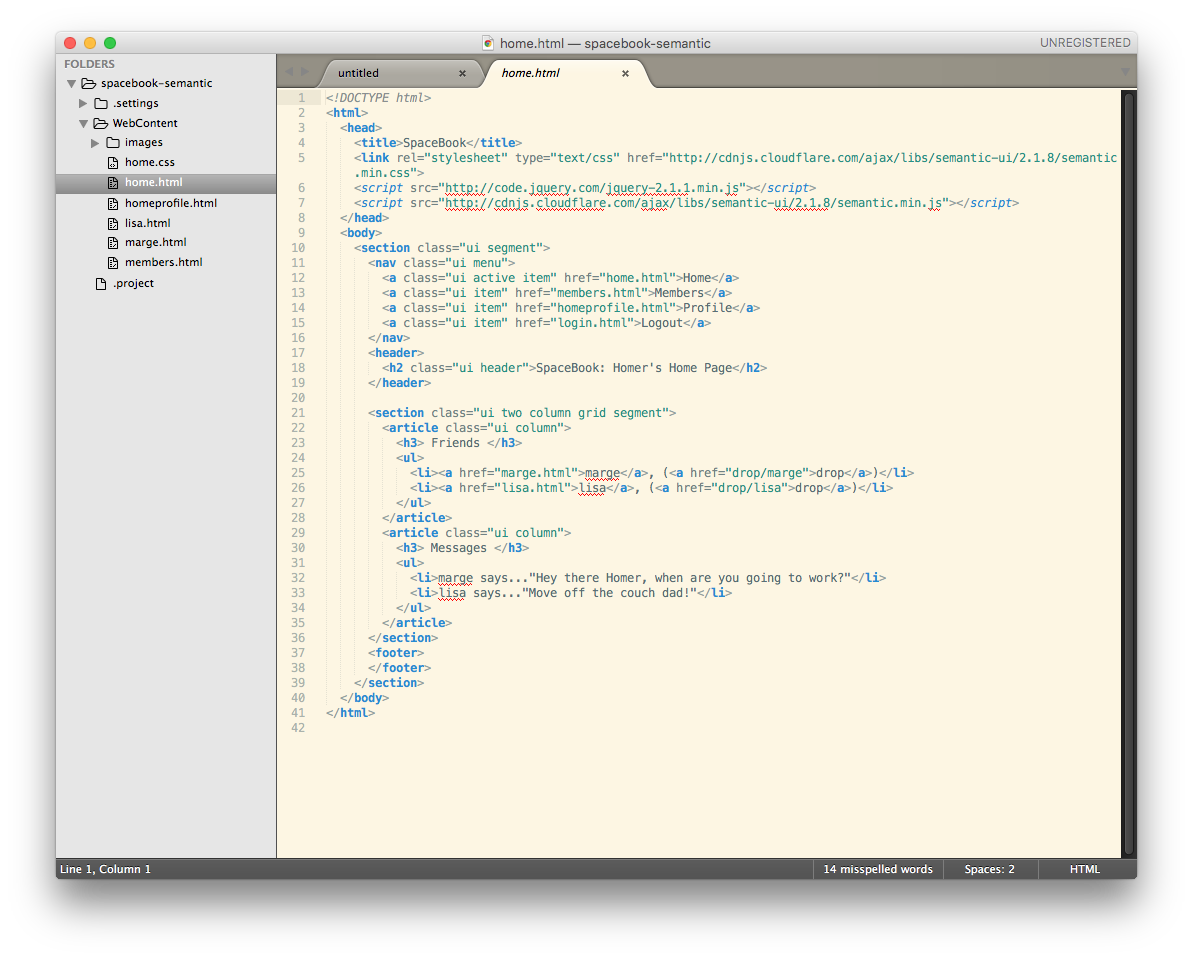
The completed project should look like this:
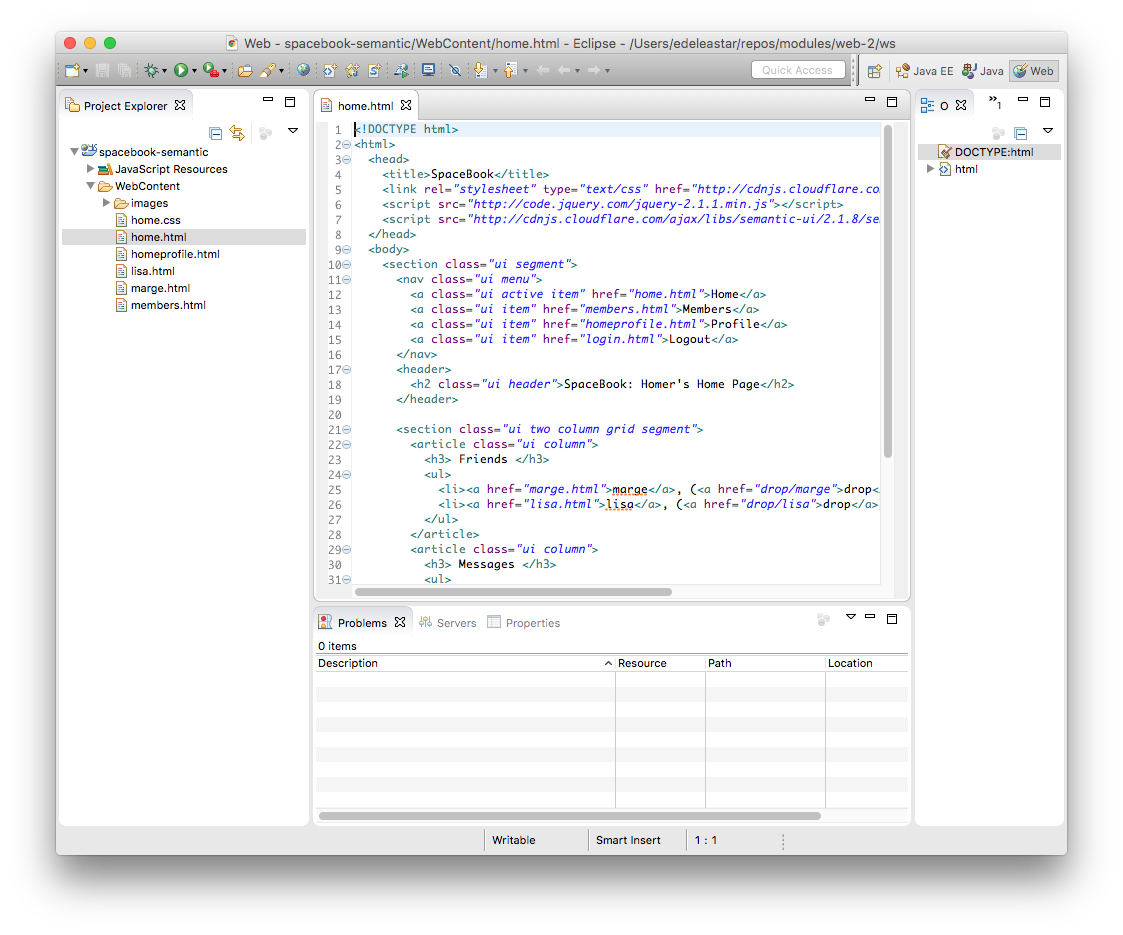
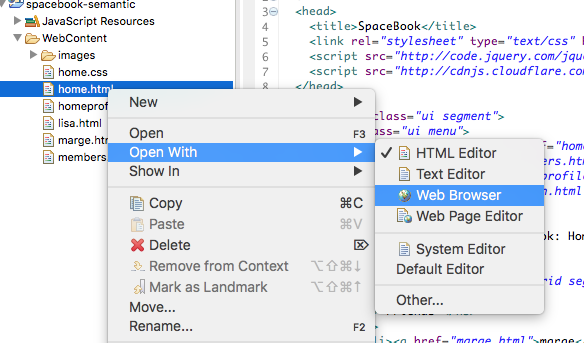
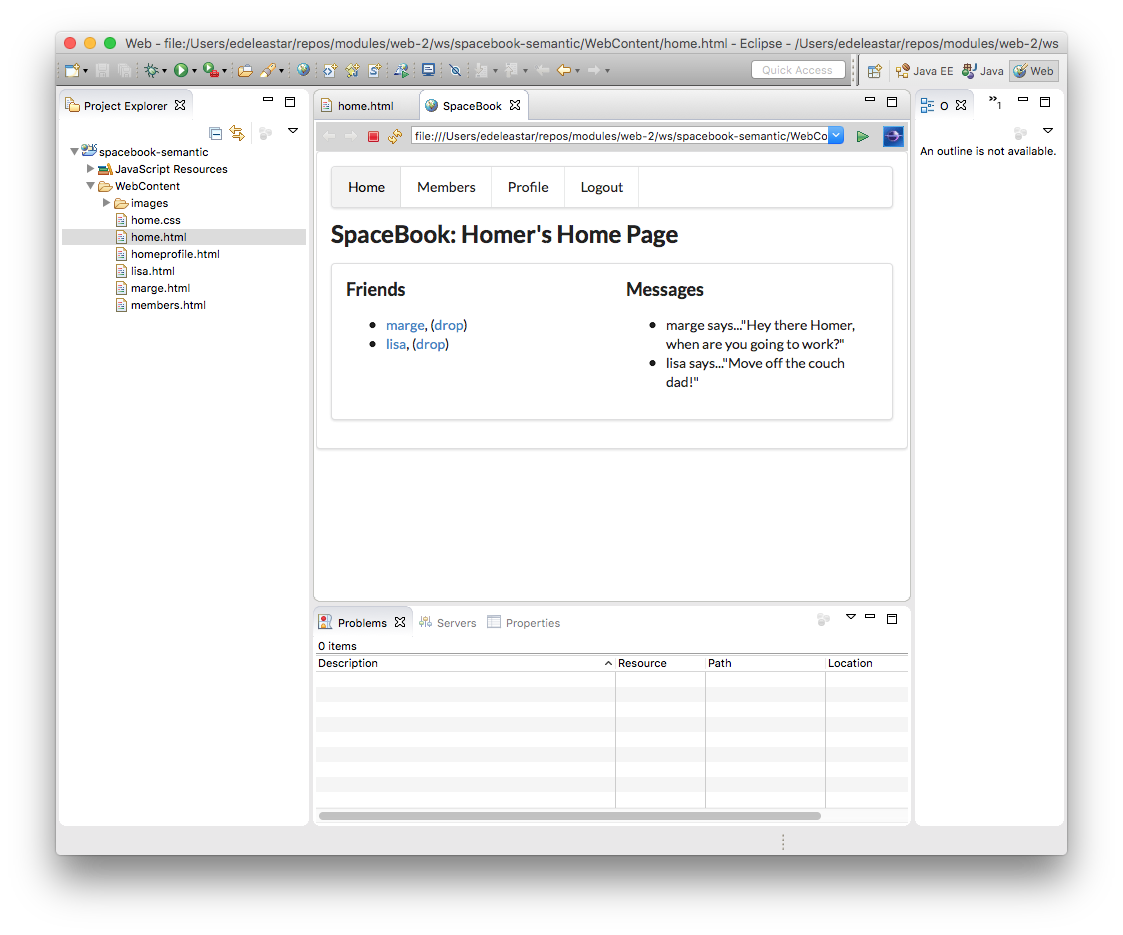
Notice that, unlike Sublime Text, Eclipse has a built on Browser:
This is your first Eclipse project - a static web site.
Eclipse Workspace
Where is this project located on your hard disk?
The answer to this is 'it depends!'
Unlike Sublime, Eclipse maintains a 'Workspace' of all projects that adhere to the Eclipse Project Structure (Sublime has no project structure). This workspace is located somewhere on your computer - but it can be confusing to find at first.
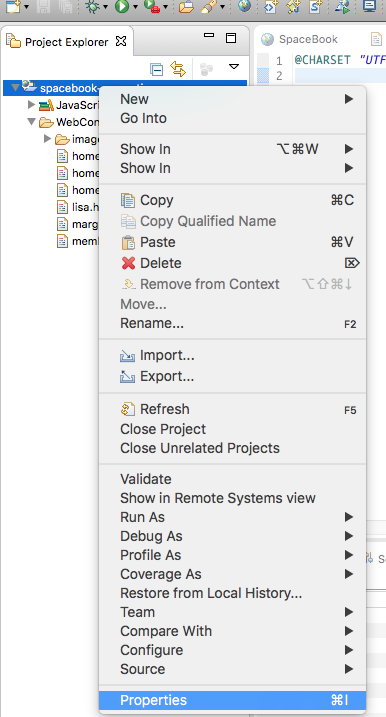
To locate the workspace - right-click on the project in Eclipse and and select 'Properties' from the menu:
This shows the project panel:
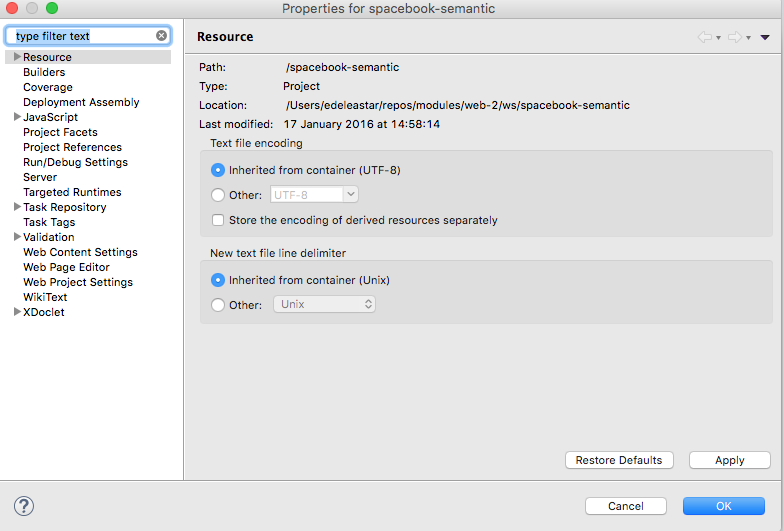
The actual folder where your project is located is listed under `Location' in that panel.
Locate your actual project now in Explorer / Finder.
You can change the workspace to a different folder at any stage:
Once you switch workspaces, then an projects you create will be based on this new location.
We can continue to use Sublime form time to time, although we will mostly focus in Eclipse from now on.
Open your project in sublime now as an experiment:
Notice there are some extra file/folders in the project - these are related to the Eclipse Project Structure - we dont need to worry about them for the moment.
Installing and Running Play
Windows
Visit the following site:
In particular, vist the download page:
On the this page, select and download play-1.4.1.zip (the version number is very important)
Unzip to somewhere on your PC - a good location might be:
C:\devOnce you have unzipped it, the folder might look like this:
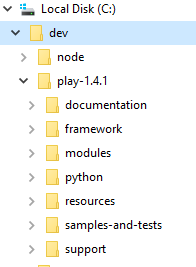
In the above, the play archive has been downloaded and expanded in c:\dev
See if you can put the folder is on your path. Detailed setup instructions are here for platforms other than Windows:
Here is a shortened guide which may suffice:
Mac/linux Users
Create or edit a file called .bash_profile in your home directory and set the path to include the extracted archive on the path. It might look like this:
PATH=$PATH:\
$HOME/dev/play-1.4.1
export PATH
This assumes you extracted the play archive into the dev folder.
Windows
For Windows machine, you need to do the following:
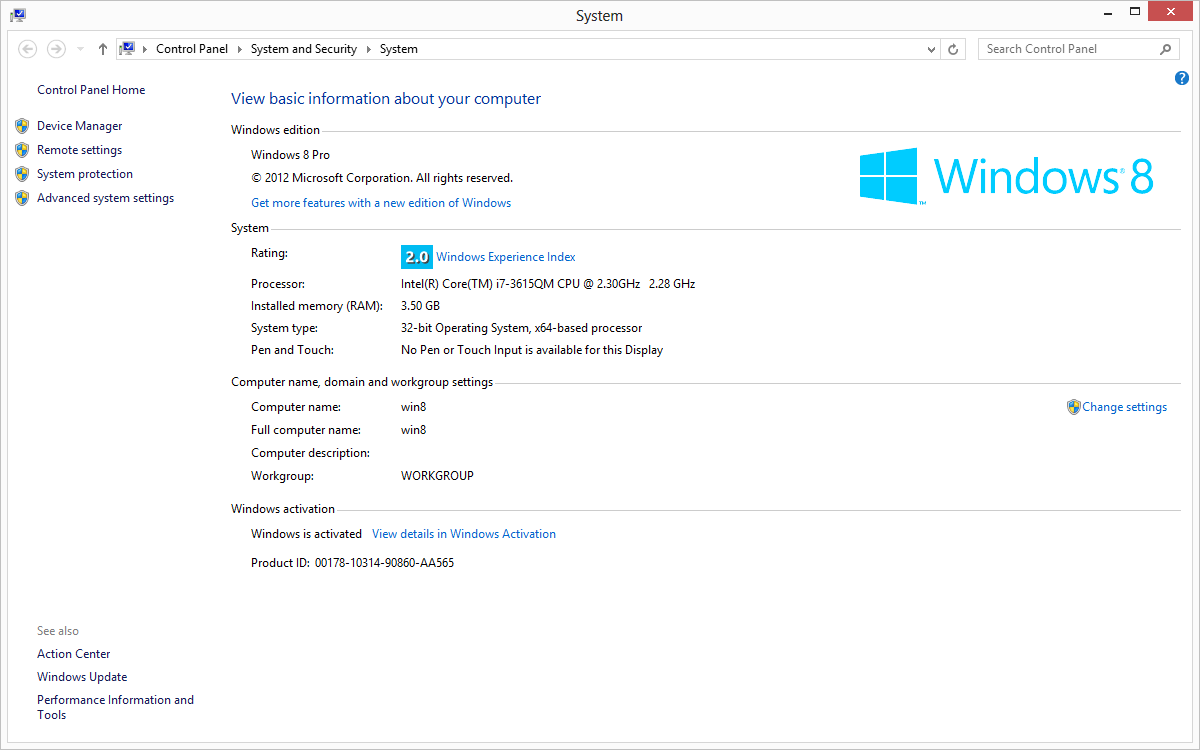
Locate the "Computer" icon in explorer
Right click on this and select 'Properties':
Select 'Advanced System Settings':
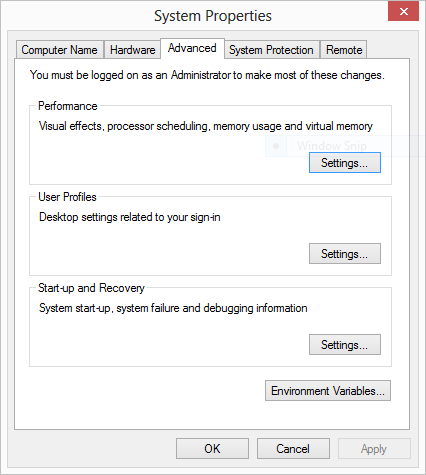
Select 'Environment Variables':
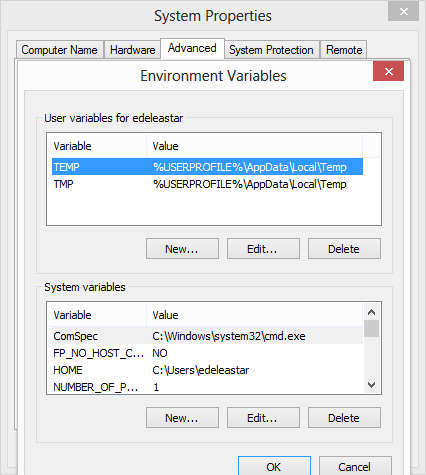
Under "System Variables", locate and select the 'Path' entry:
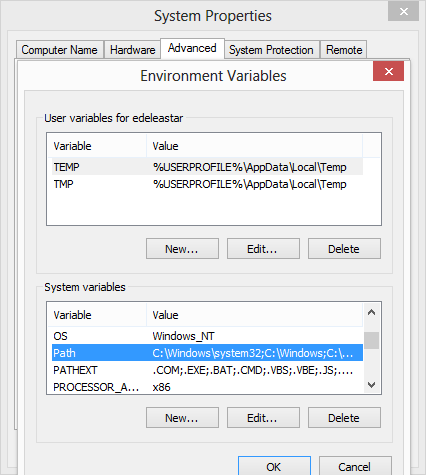
Edit this entry, and append the path in which play is installed. This should be C:\dev\play-1.4.1
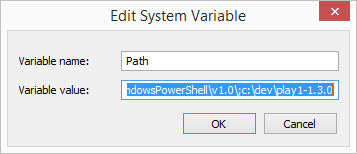
NB: DO NOT DELETE THE CURRENT VALUE OF THE PATH! You are trying to append on to the end of the string in there already.Note that a ; separates this new entry from the last one.
Press "Ok" all the way back and rerun the command prompt (close the one already open)
To test, just type "play" from a command prompt you should see something like this:
~        _            _
~  _ __ | | __ _ _  _| |
~ | '_ \| |/ _' | || |_|
~ |  __/|_|\____|\__ (_)
~ |_|            |__/
~
~ play! 1.4.1, http://www.playframework.org
~
~ Usage: play cmd [app_path] [--options]
~
~ with,  new      Create a new application
~        run      Run the application in the current shell
~        help     Show play help
Or, if you did not manage to get the play folder on the path, then this command here should work (if you used the recommended folder structure)
C:\dev\play1-1.4.1\playHowever, it is best to ensure that the play command is on the system path.
Create a Play/Eclipse Project
Dynamic version of Spacebook
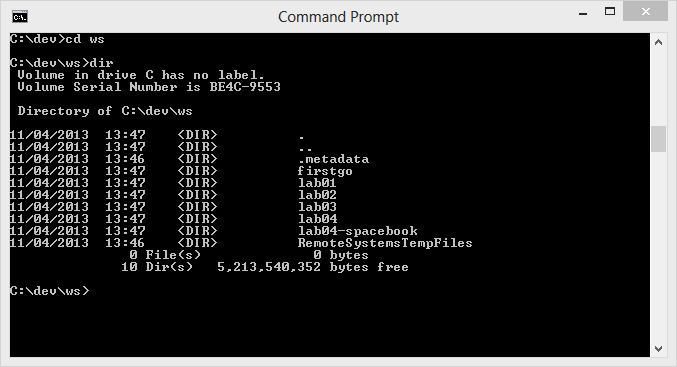
Back in the command line, you will need to navigate to your web development workspace. This might lead you somewhere like this:
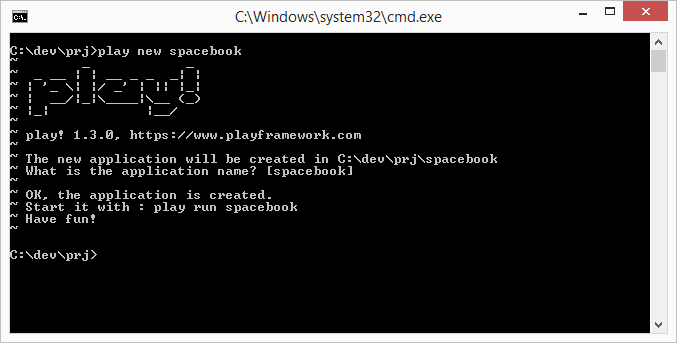
Now create a new project by typing the following:
play new spacebookYou should get:
~        _            _
~  _ __ | | __ _ _  _| |
~ | '_ \| |/ _' | || |_|
~ |  __/|_|\____|\__ (_)
~ |_|            |__/
~
~ play! 1.4.1, http://www.playframework.org
~
~ The new application will be created in /Users/edeleastar/Dropbox/webdev/2012/dev/projects/spacebook
~ What is the application name? [spacebook]
Press return when prompted for the name to accept the default (spacebook)
~
~ OK, the application is created.
~ Start it with : play run spacebook
~ Have fun!
~
In DOS it might look like this:
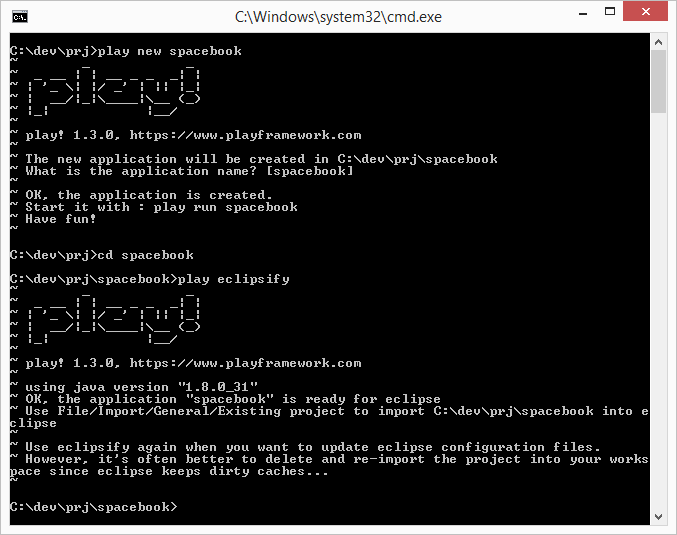
Explore the generated folder - called 'spacebook'. It should contain six folders app conf lib public * test We can import this project into eclipse. First, change into the spacebook folder
cd spacebookThen run this command:
play eclipsifyThe system will respond with:
~        _            _
~  _ __ | | __ _ _  _| |
~ | '_ \| |/ _' | || |_|
~ |  __/|_|\____|\__ (_)
~ |_|            |__/
~
~ play! 1.4.1, http://www.playframework.org
~
~ OK, the application is ready for eclipse
~ Use File/Import/General/Existing project to import /Users/edeleastar/Dropbox/webdev/2012/dev/projects/spacebook into eclipse
~
~ Use eclipsify again when you want to update eclipse configuration files.
~ However, it's often better to delete and re-import the project into your workspace since eclipse keeps dirty caches...
~
The above sequence might look like this in DOS:
Now, launch eclipse - in the usual way. In eclipse, select "File->Import->General->Existing Projects into Workspace" and navigate to the folder containing the spacebook application just generated.
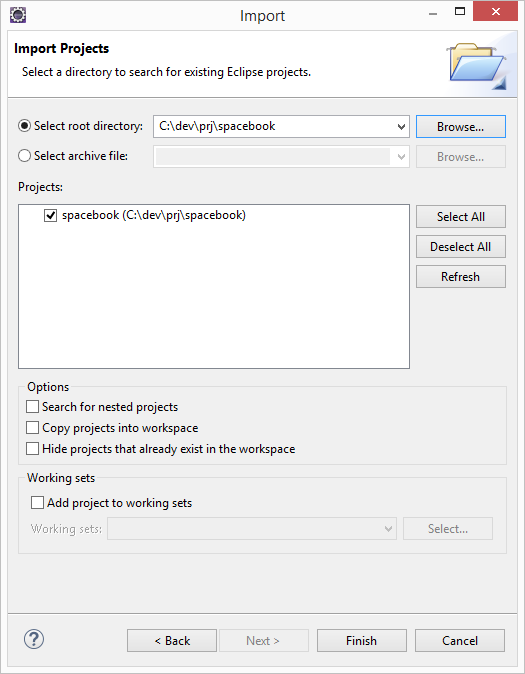
Once imported into eclipse, the project should look like this:
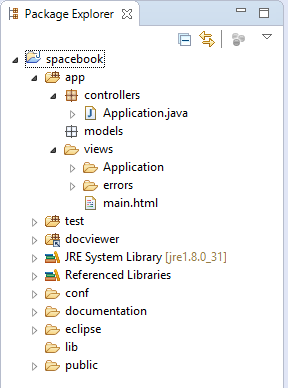
The project may not look like this initially. If it doesnt, then switch to the "Java Perspective" in Eclipse, and it should resemble the above. To switch perspectives - in eclipse select "Window->Open Perspective->Java"
Running a Play Application
Back in DOS, from inside the spacebook folder, type the following command:
play runPlay will respond with something like this:
~        _            _
~  _ __ | | __ _ _  _| |
~ | '_ \| |/ _' | || |_|
~ |  __/|_|\____|\__ (_)
~ |_|            |__/
~
~ play! 1.4.1, http://www.playframework.org
~
~ Ctrl+C to stop
~
Listening for transport dt_socket at address: 8000
16:30:33,586 INFO  ~ Starting /Users/edeleastar/Dropbox/webdev/2012/dev/projects/spacebook
16:30:34,646 WARN  ~ You're running Play! in DEV mode
16:30:34,894 INFO  ~ Listening for HTTP on port 9000 (Waiting a first request to start) ...
16:30:58,912 INFO  ~ Application 'Spacebook' is now started !
You may get a dialog from the firewall, asking for permission to run, which you should agree to.
Now run the browser, and navigate to:
you should see something like this:

Also notice that a log message will appear in the command window indicating that the app has started:
16:30:58,912 INFO ~ Application 'Spacebook' is now started !To stop the application, press "Control+C" in the command prompt. If you refresh the browser window, then you should now get an error
Start the app again by typing 'play run' as above. Verify that the app has started by browsing/refreshing to:
Try this a few times to get used to starting/stopping the application